
I am afraid that this is going to be (in part at least) a classic example of don’t do as I did, but as I say, well, in a couple of areas at least!
The basic requirements were straightforward: light, sturdy, not too large and as few additional parts as possible – i.e. not to have separate legs. For transport, pairs of boards to be held face to face, and the lighting gantry and supports to be separate from the layout (they are not needed at home) but to also reduce to as few parts as possible.
The best advice when it comes to building a model railway is to stop messing about and get on with it: just so long as you remember to measure twice and cut once. The problem with that phrase is that it’s truncated from, “Think thrice, measure twice and cut but once”! I had clear ideas about how I wanted to go about creating lightweight yet sturdy baseboards which were also transportable, but in the heat of the moment I maybe forgot about one of the objectives, and the boards are not as light as I had hoped. If two people are carrying boards (singly or in pairs) the weight is hardly noticeable, but for one person it can be a bit awkward, especially within my house when it comes to getting the boards up and down the stairs, into and out of the room where the layout currently resides, and assembling and disassembling the layout. The obvious answer is to ask a friend to help (I live on my own), but sometimes the need to move things happens at inconvenient times. I will highlight some of the potential weight-increasing issues as I go along, and there is a summary of what I would do if there is a next time, in light of experience.
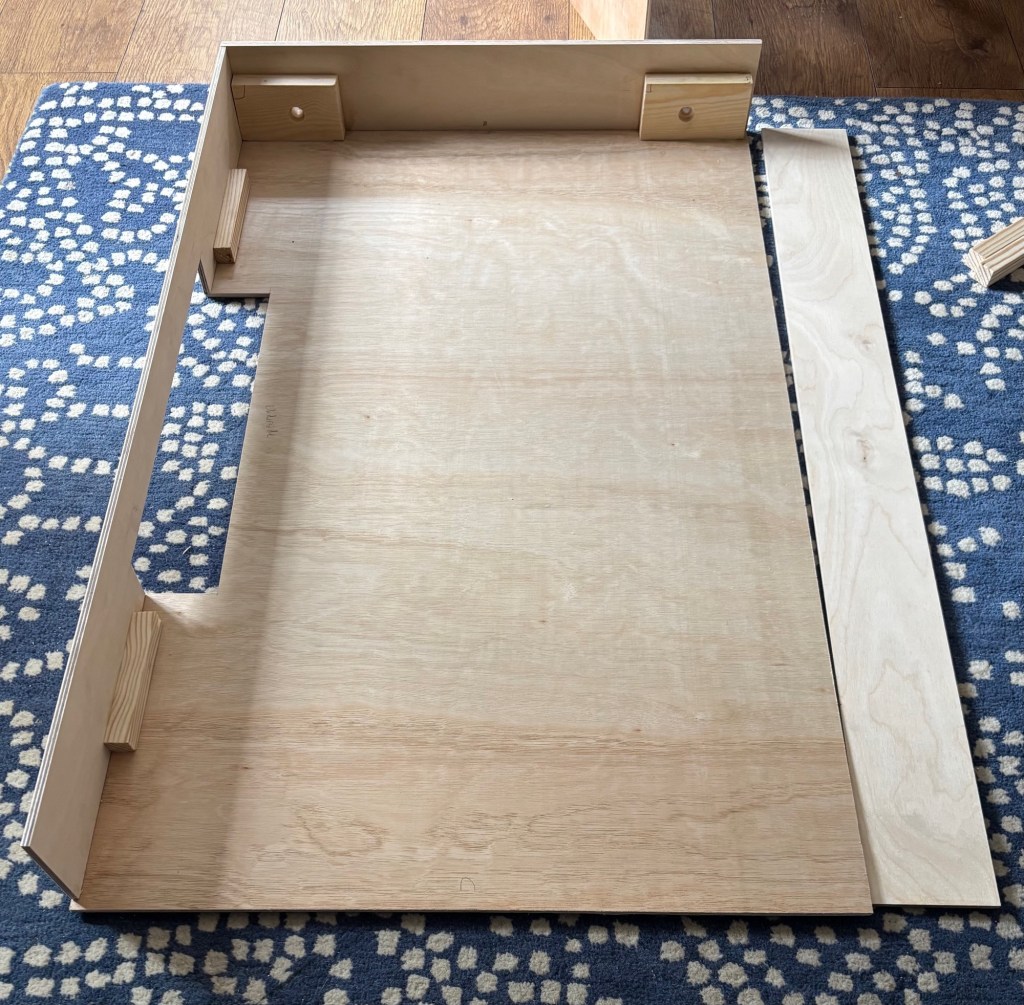
The basic design uses plywood for the ends, sides, surfaces and triangulating cross pieces. I have added some 3″x1″ PSE deal at the ends to help provide squareness and to accommodate alignment dowels, which were jig drilled (the jig being a couple of pieces of wood acting as a “fence” under the pillar drill.
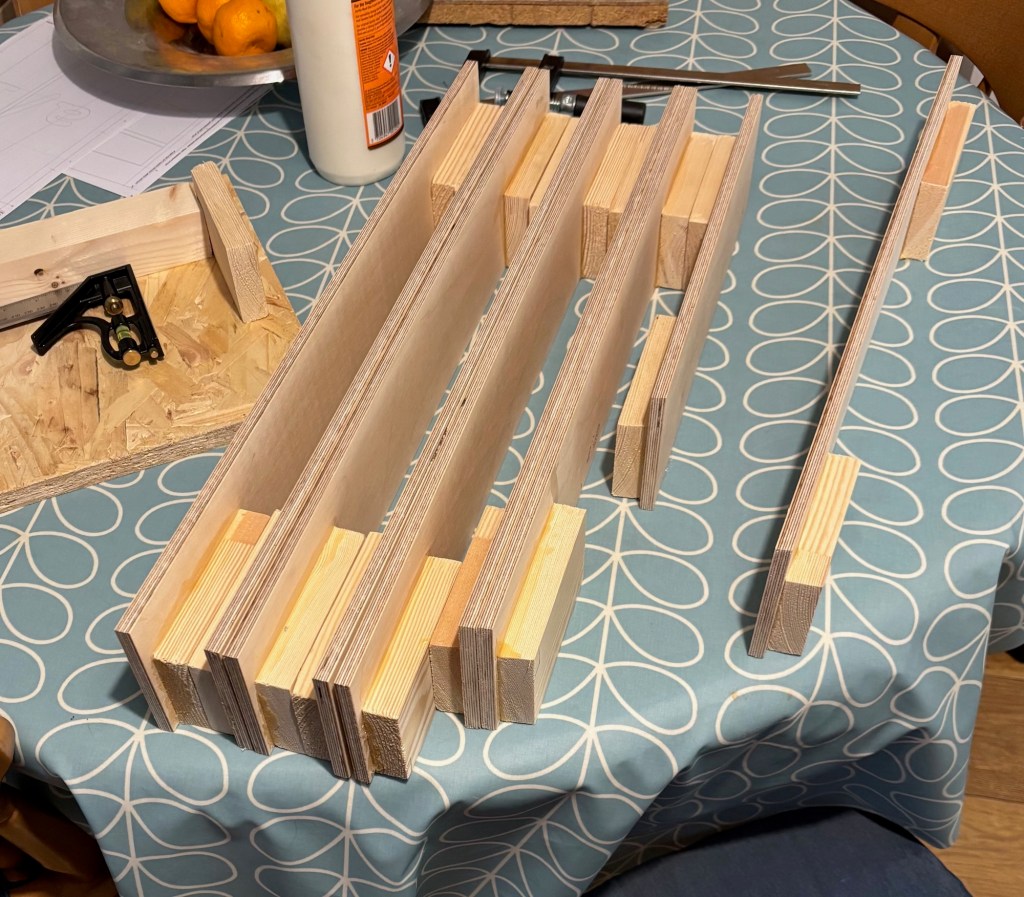
The boards are flat, with only a small area going below the trackbed because that’s the terrain where the layout is set. Because of this, I could assemble the frames to the underside of the baseboard tops, and made a simple jig from 18mm mdf and a couple of pieces of wood, and glued and clamped a side and an end in place, leaving the assembled items alone for a couple of hours before removing them (carefully) to allow the glue to fully harden overnight. Another set could be put in place and glued, etc, so progress was maintained. This way, I could get the initial side and end glued in place for two boards in an evening, after work.
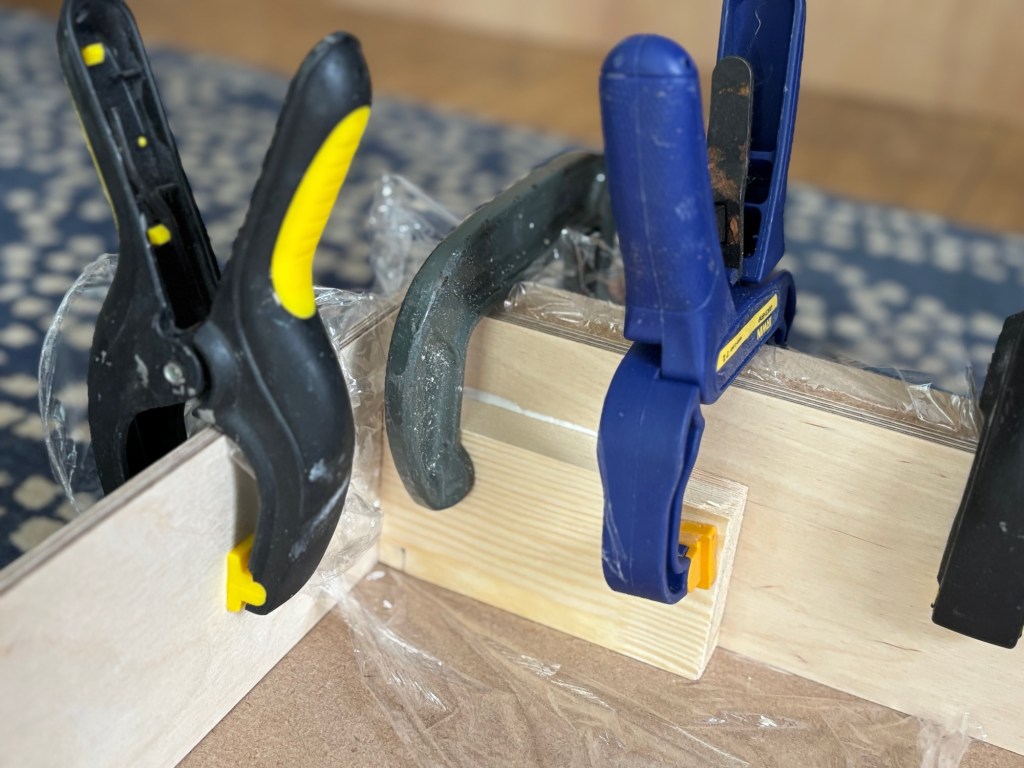
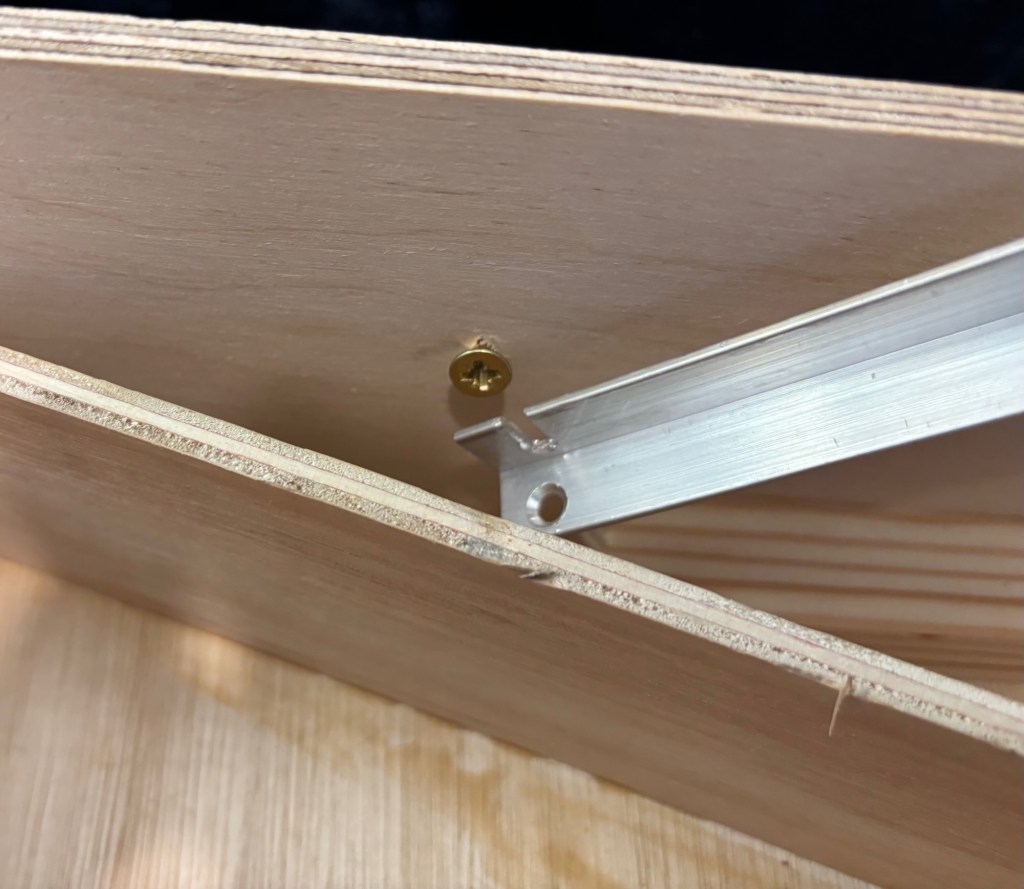
Here’s the first don’t do as I did lesson; I had the clever idea of using plastic food film to keep the glue away from the jig. Right idea, wrong material: adheres to surfaces where you don’t want it. (You can see it in the photo above, but having taken the photo, I had time to unclamp the side piece, remove the film, and re-glue it. (I kept the photo to remind myself to think more clearly, and also because a little public self-humiliation can be a good thing, I am told. Something about confession being good for the soul.) Baking parchment is a much better idea. In fact, it was excellent.
Then obviously it was simply a case of pressing on with the other side and end for each board.
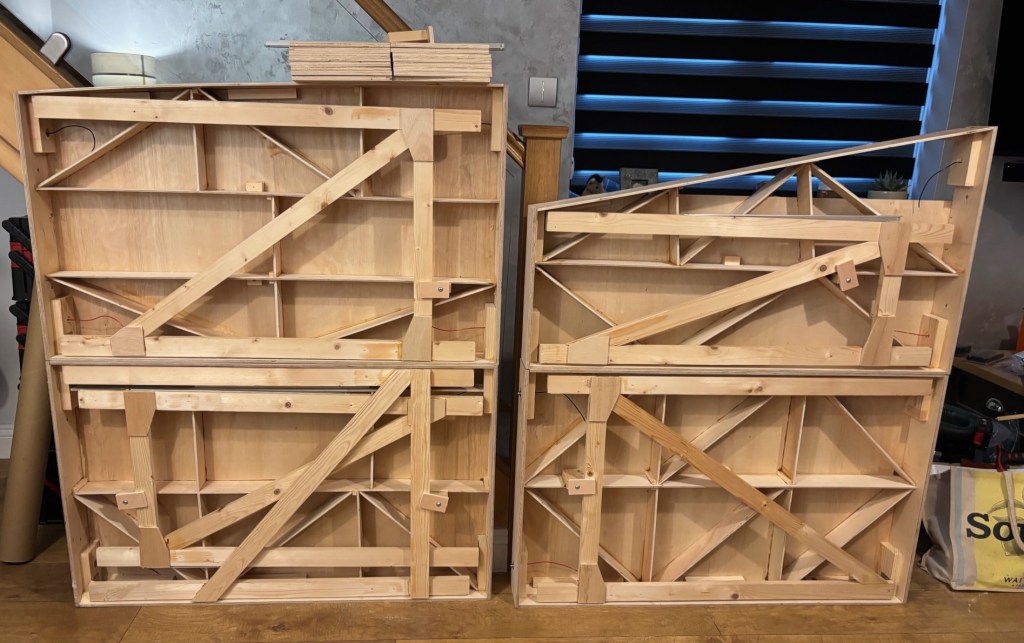
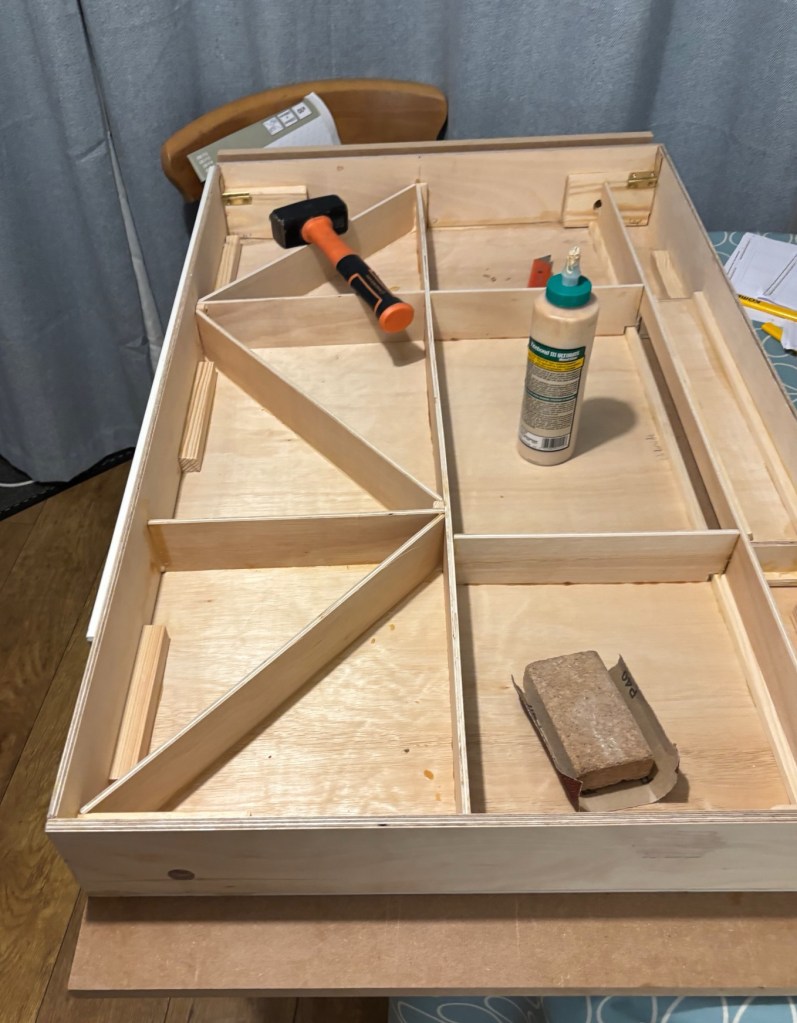
Once the sides and ends were set, longitudinal struts, and various cross pieces were added.
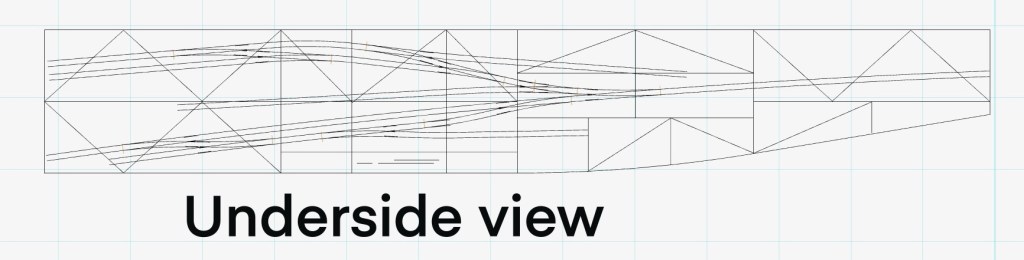
To avoid problems with wiring and point and signal operation later on, I produced an image of the layout framing and rails from Templot, inverting the whole plan as a group of files before printing them out: not full size, just to a size to help me get the framing in approximately the right place.
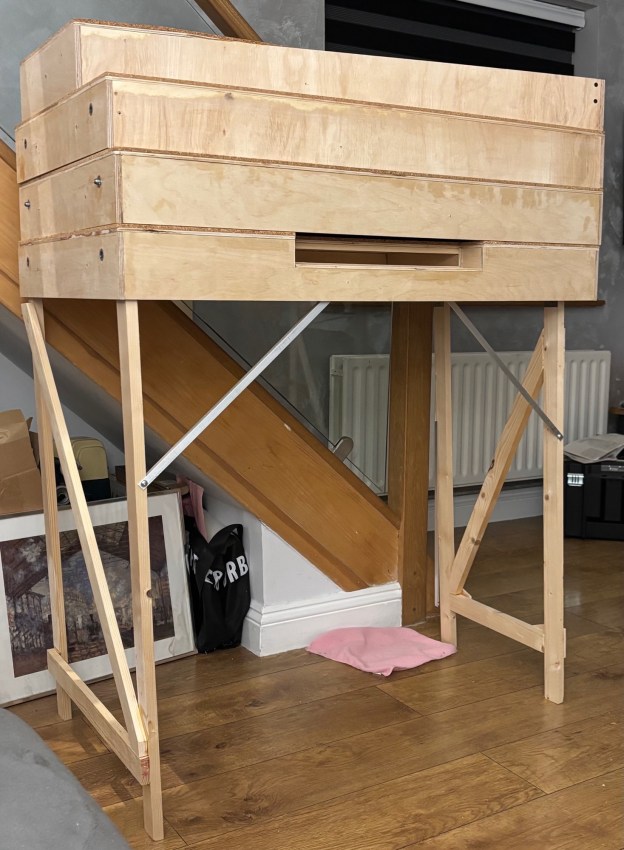
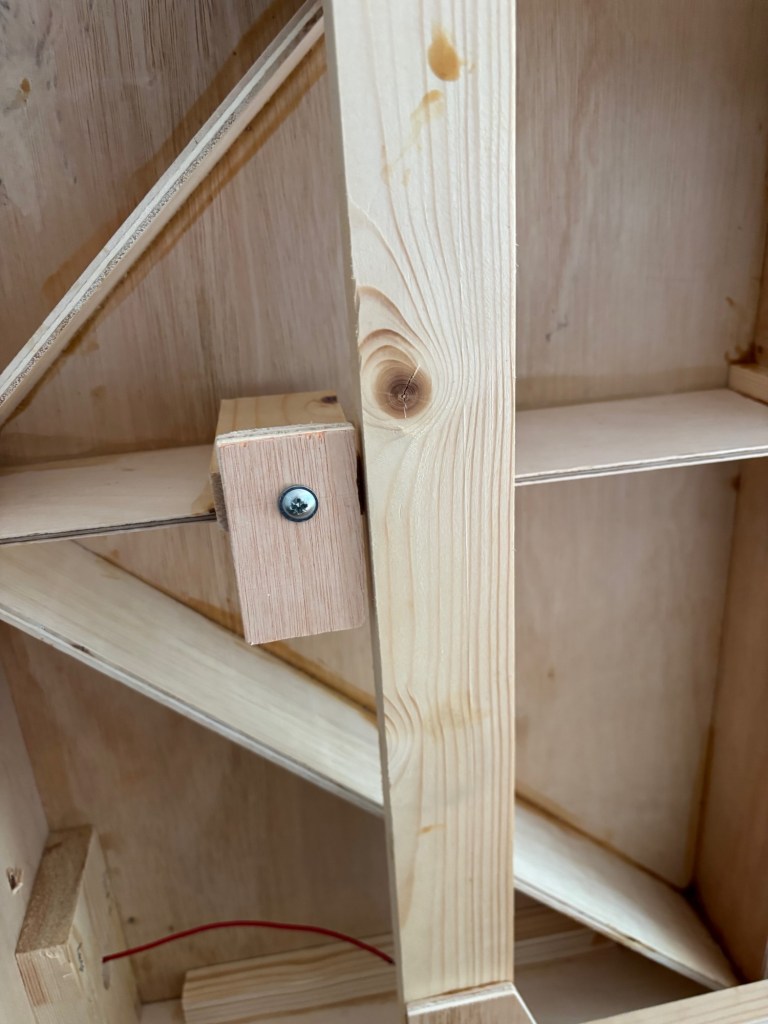
I then progressed onto the legs, using 2″x1″ PSE pine. The latter was used as I had some remnants left over from fitted cabinets in a previous house, which the installer kindly retained for me on the basis of “you have actually paid for this, so it is yours, but if you leave it out, they will collect it and reuse it elsewhere, so where do you want it?” Unlike timber from a chainstore DIY warehouse, this is square, true, and free from warping. As I have hinged the legs to the boards and they are solid, these do add some of the extra weight. There is nothing fantastic about these: two legs, a horizontal cross piece and a diagonal strut, braced with an offcut of ply.
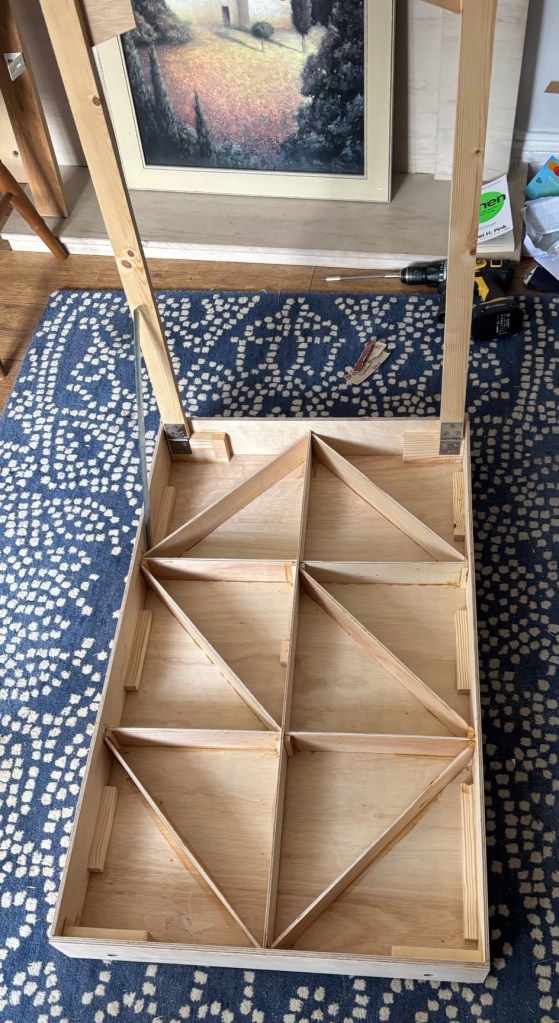
In the photo above, you can see a piece of aluminium angle. These were added to each side, to provide triangulation when the legs are opened out. One end is screwed to the leg, the other has a slot to fit over a countersunk screw. Once adjusted to be just so, the braces clip into place but can be removed when it’s time to pack up, but do not come loose of their own free will.
Finally, some offcuts of wood were fitted with sockets for bolts, to which is pivoted another short offcut which swivels into place to keep the legs folded when the layout is stowed away.
There is nothing at all radical about these boards: in fact, I think they could have been made with thinner side and end frames, 4mm thick instead of 9mm at the ends and 6mm sides. The legs could be lighter too, but in this case, I had the materials to hand.
