

I have seen layouts at exhibitions where the track was laid directly onto the baseboard surface: grey paint represented the ballast. And I have done this, too, but I was 7 years old at the time and colouring the surface with crayons was I suppose an improvement on bare wood. But since the age of 10, I have always had a layer of cork between the track and baseboards. Initially it was just a thin 1/32” layer held down by the same pins that held the Peco Streamline in place, and I am not sure if it gave much benefit to quieter running, but it did serve to differentiate between “land” used for the railway tracks and land (railway company or otherwise) deployed for different purposes. Later on, I started to add ballast from scenic products, but that’s a topic for the future!
I now use thicker cork, and it is glued to the baseboard surfaces with woodworker’s glue: I found it slightly easier to use white PVA rather than yellow aliphatic resin adhesive for this task, but if you only have one to hand, then just use that. I am quite brand specific for PVA: the basic chemical properties are the same, but cheaper brands are sometimes thinner – and that be be useful because in certain situations such as sealing a surface, then that is what is required. But for me, it is Evostik glue in the green or blue bottles (the blue is slightly more expensive and supposedly more weatherproof). It used to be labelled as “Resin W”, but that seems to have gone out of use. It seems to be more expensive, but only a thin smear is required.
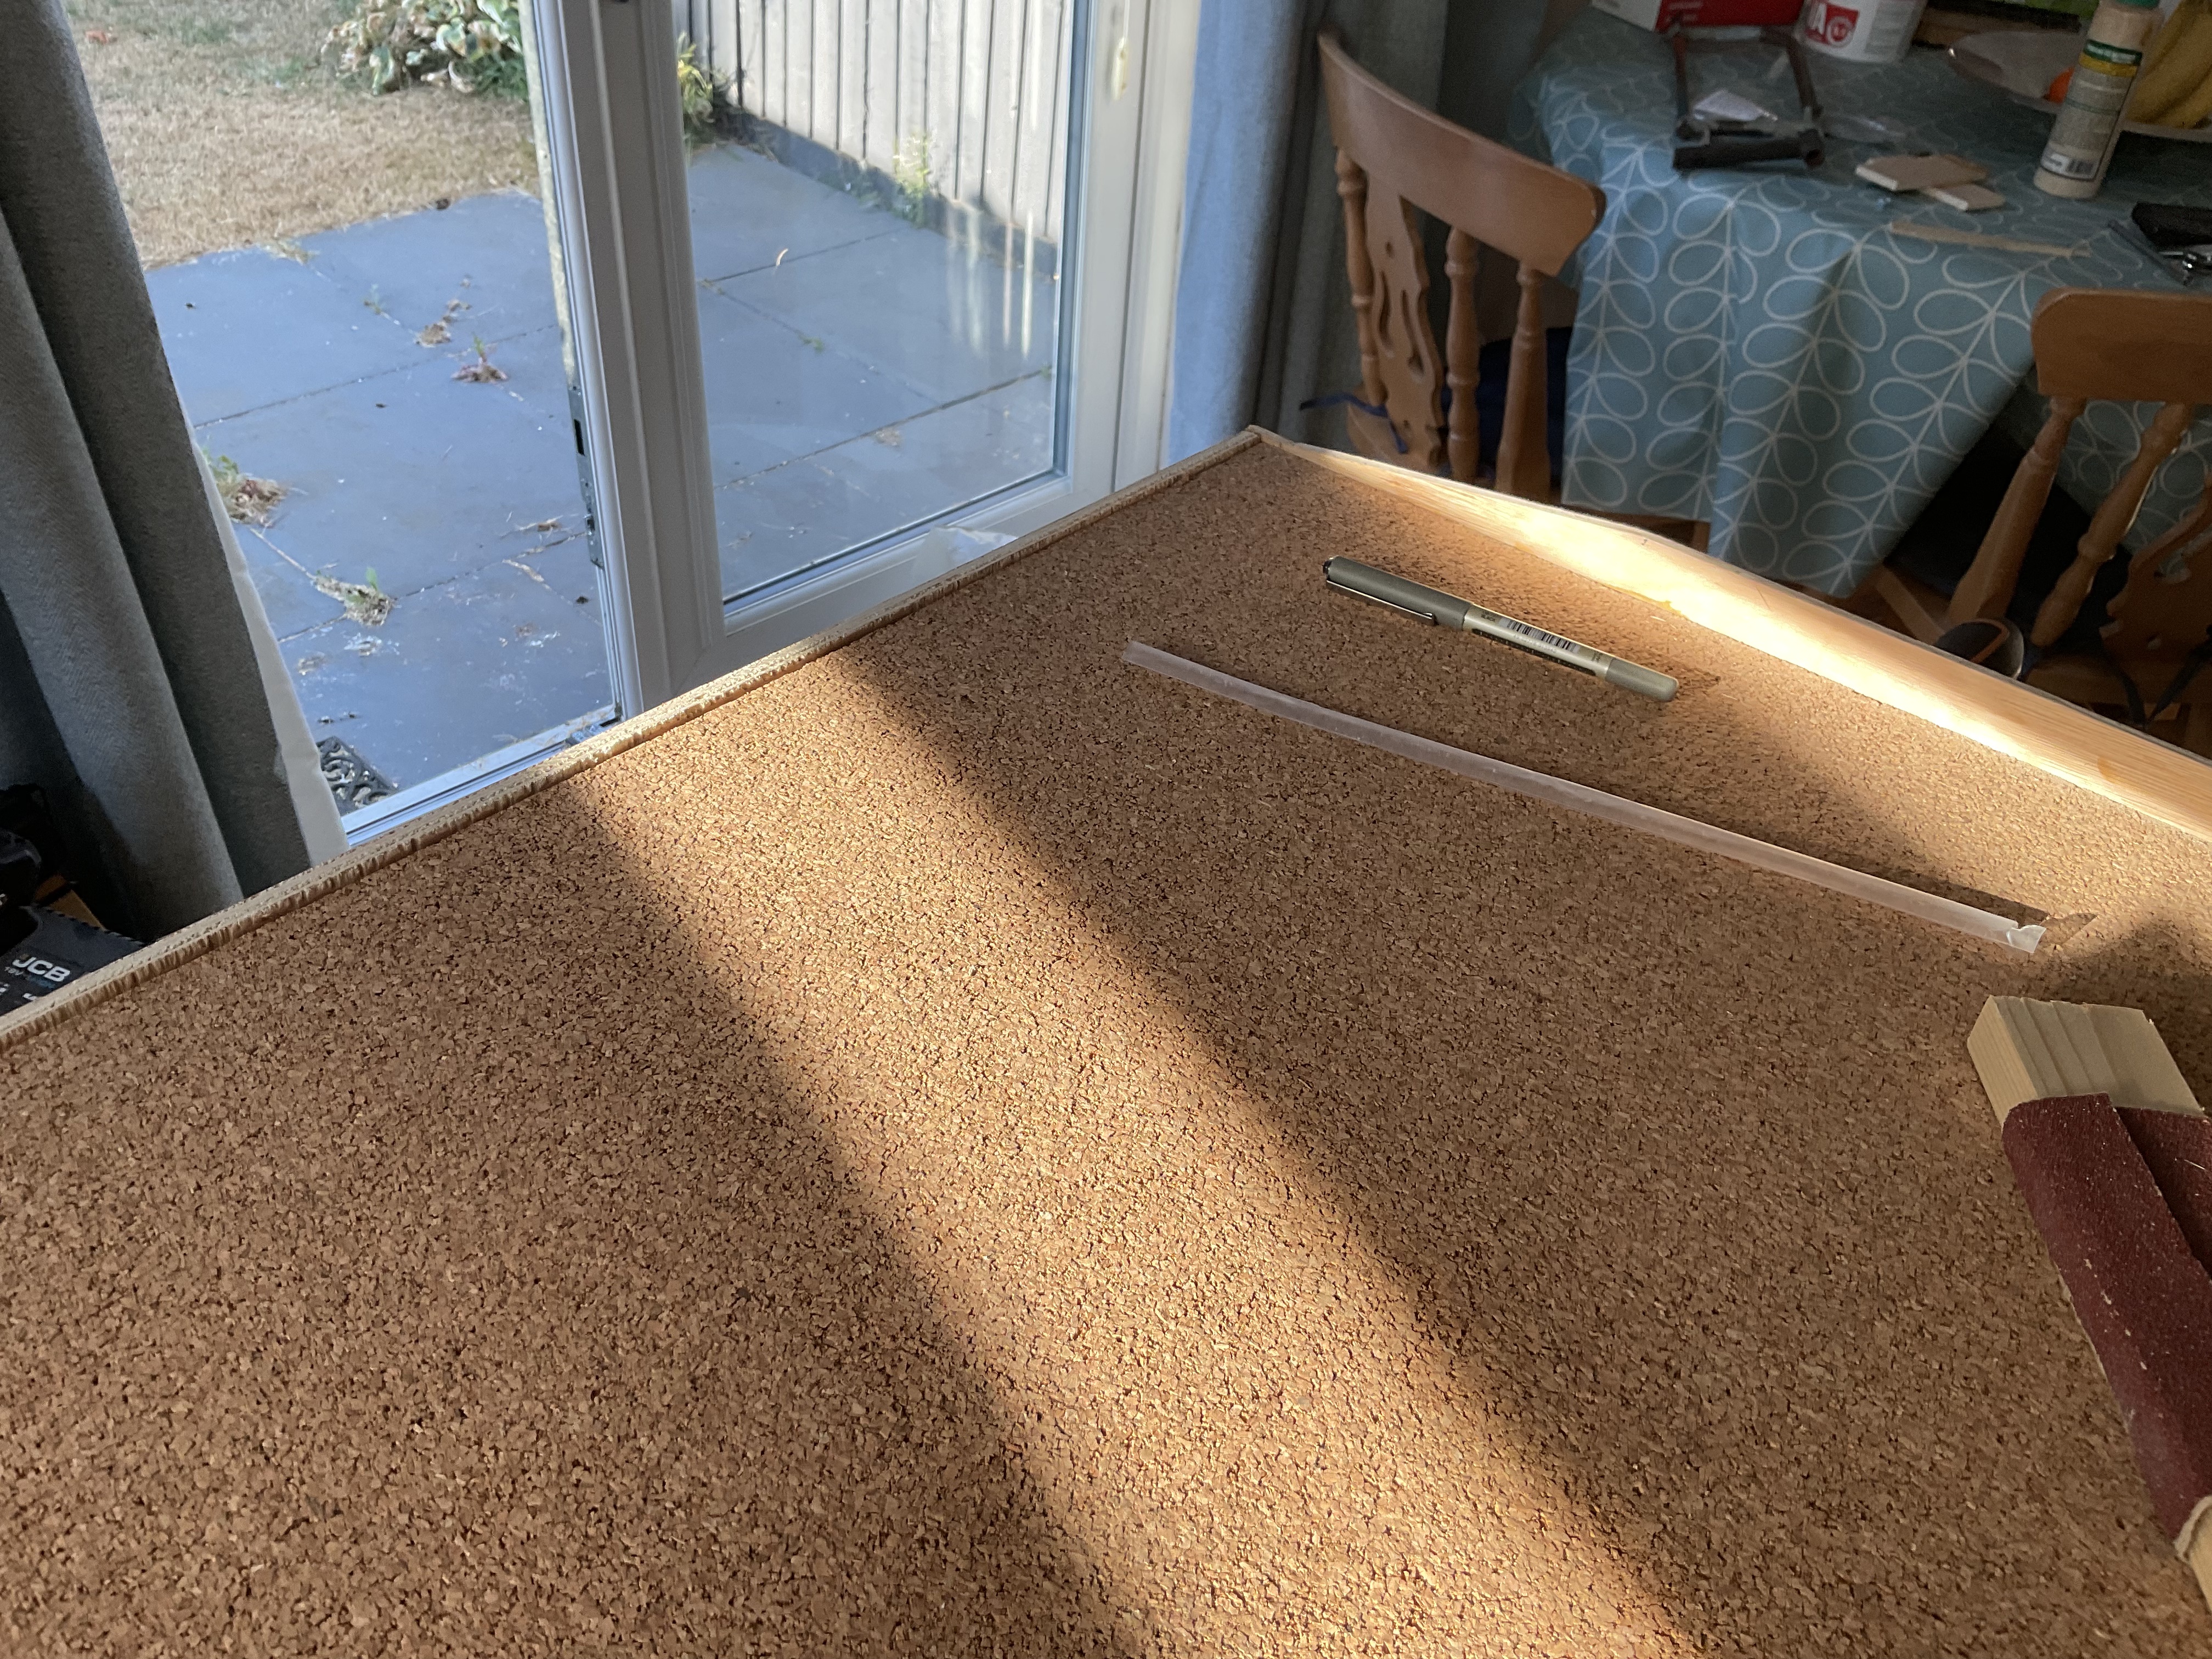
I bought some 6mm cork in a 900mm wide roll some years ago and used that for my baseboards: 1m wide would have been more useful, but I bought it well in advance of this layout, for a planned alternative using 800mm wide baseboards. It was cheaper than buying from exhibition stands or model shops, and I felt to be of higher quality than some brands. If you can unroll it and even reverse-roll it to flatten it out prior to laying, it will help when it comes to gluing it down. 6mm square wooden moulding strip was first glued and pinned at the baseboard joints, to reduce wear and tear when moving and assembling the boards, and the sheet was then cut to fit – and to fit snugly, but not tightly enough to ruffle up. Pools of PVA were dropped about the place, then smeared out in a thin layer (it can be very thin, but must cover all of the baseboard top) using a cheap plastic spreader/scraper or piece of scrap card, carefully drop the cork in place, and apply a weight all over the surface for a couple of hours. “What is the form of this weight?” you may ask. Simply, one of the other baseboards, upside down. Again, this can be fitted around other things: just make sure that one of your baseboards is without the timber mouldings at the ends when you start, so that its surface is flat for applying as a weight. Once the first board is covered and the glue is dry, you can use that as the weight for the next board. As I had 4 boards to produce, I did two one evening, and the other two on the following one. Most of the time, glue is setting, so do something else like cook a meal, spend time with family, etc.
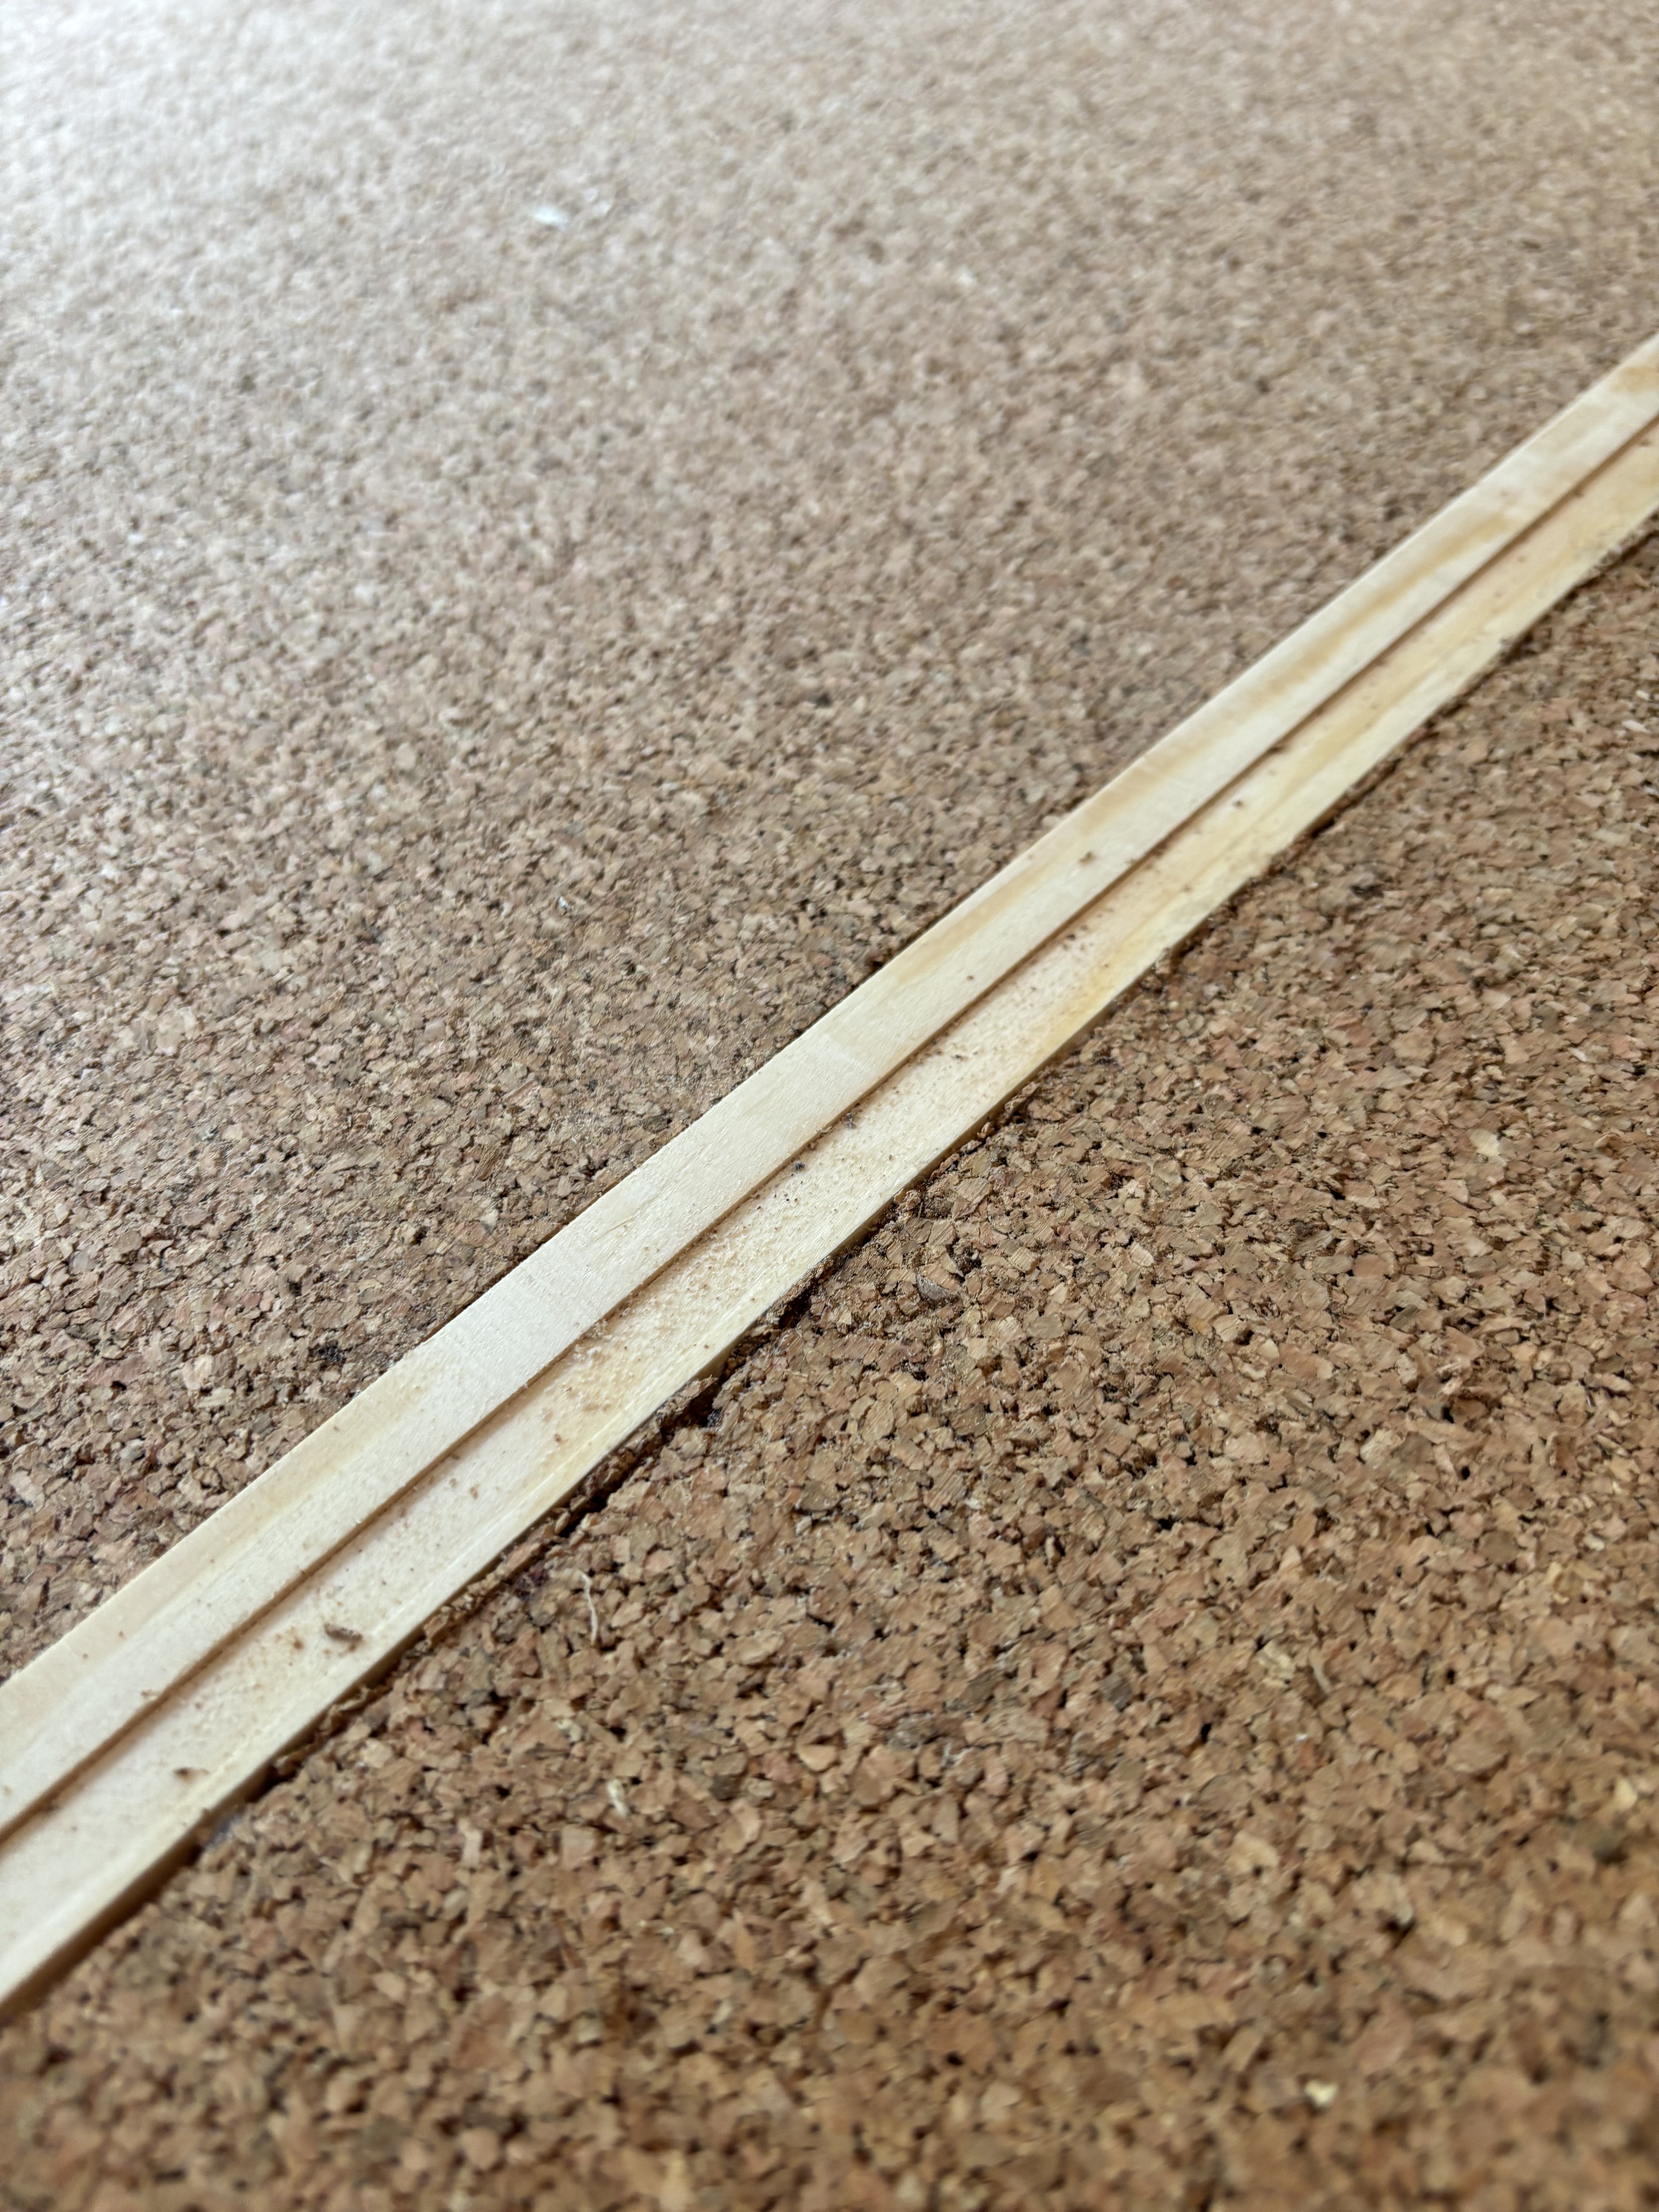
As you can see below, the 6mm square mouldings were not all equal – and my definition of a “snug fit” is a bit vague… The former issue will be dealt with by sanding, and the latter won’t matter too much once the scenics are applied, but anyone worried about this can insert glue and scraps of cork, as long as it is allowed to set fully prior to sanding.
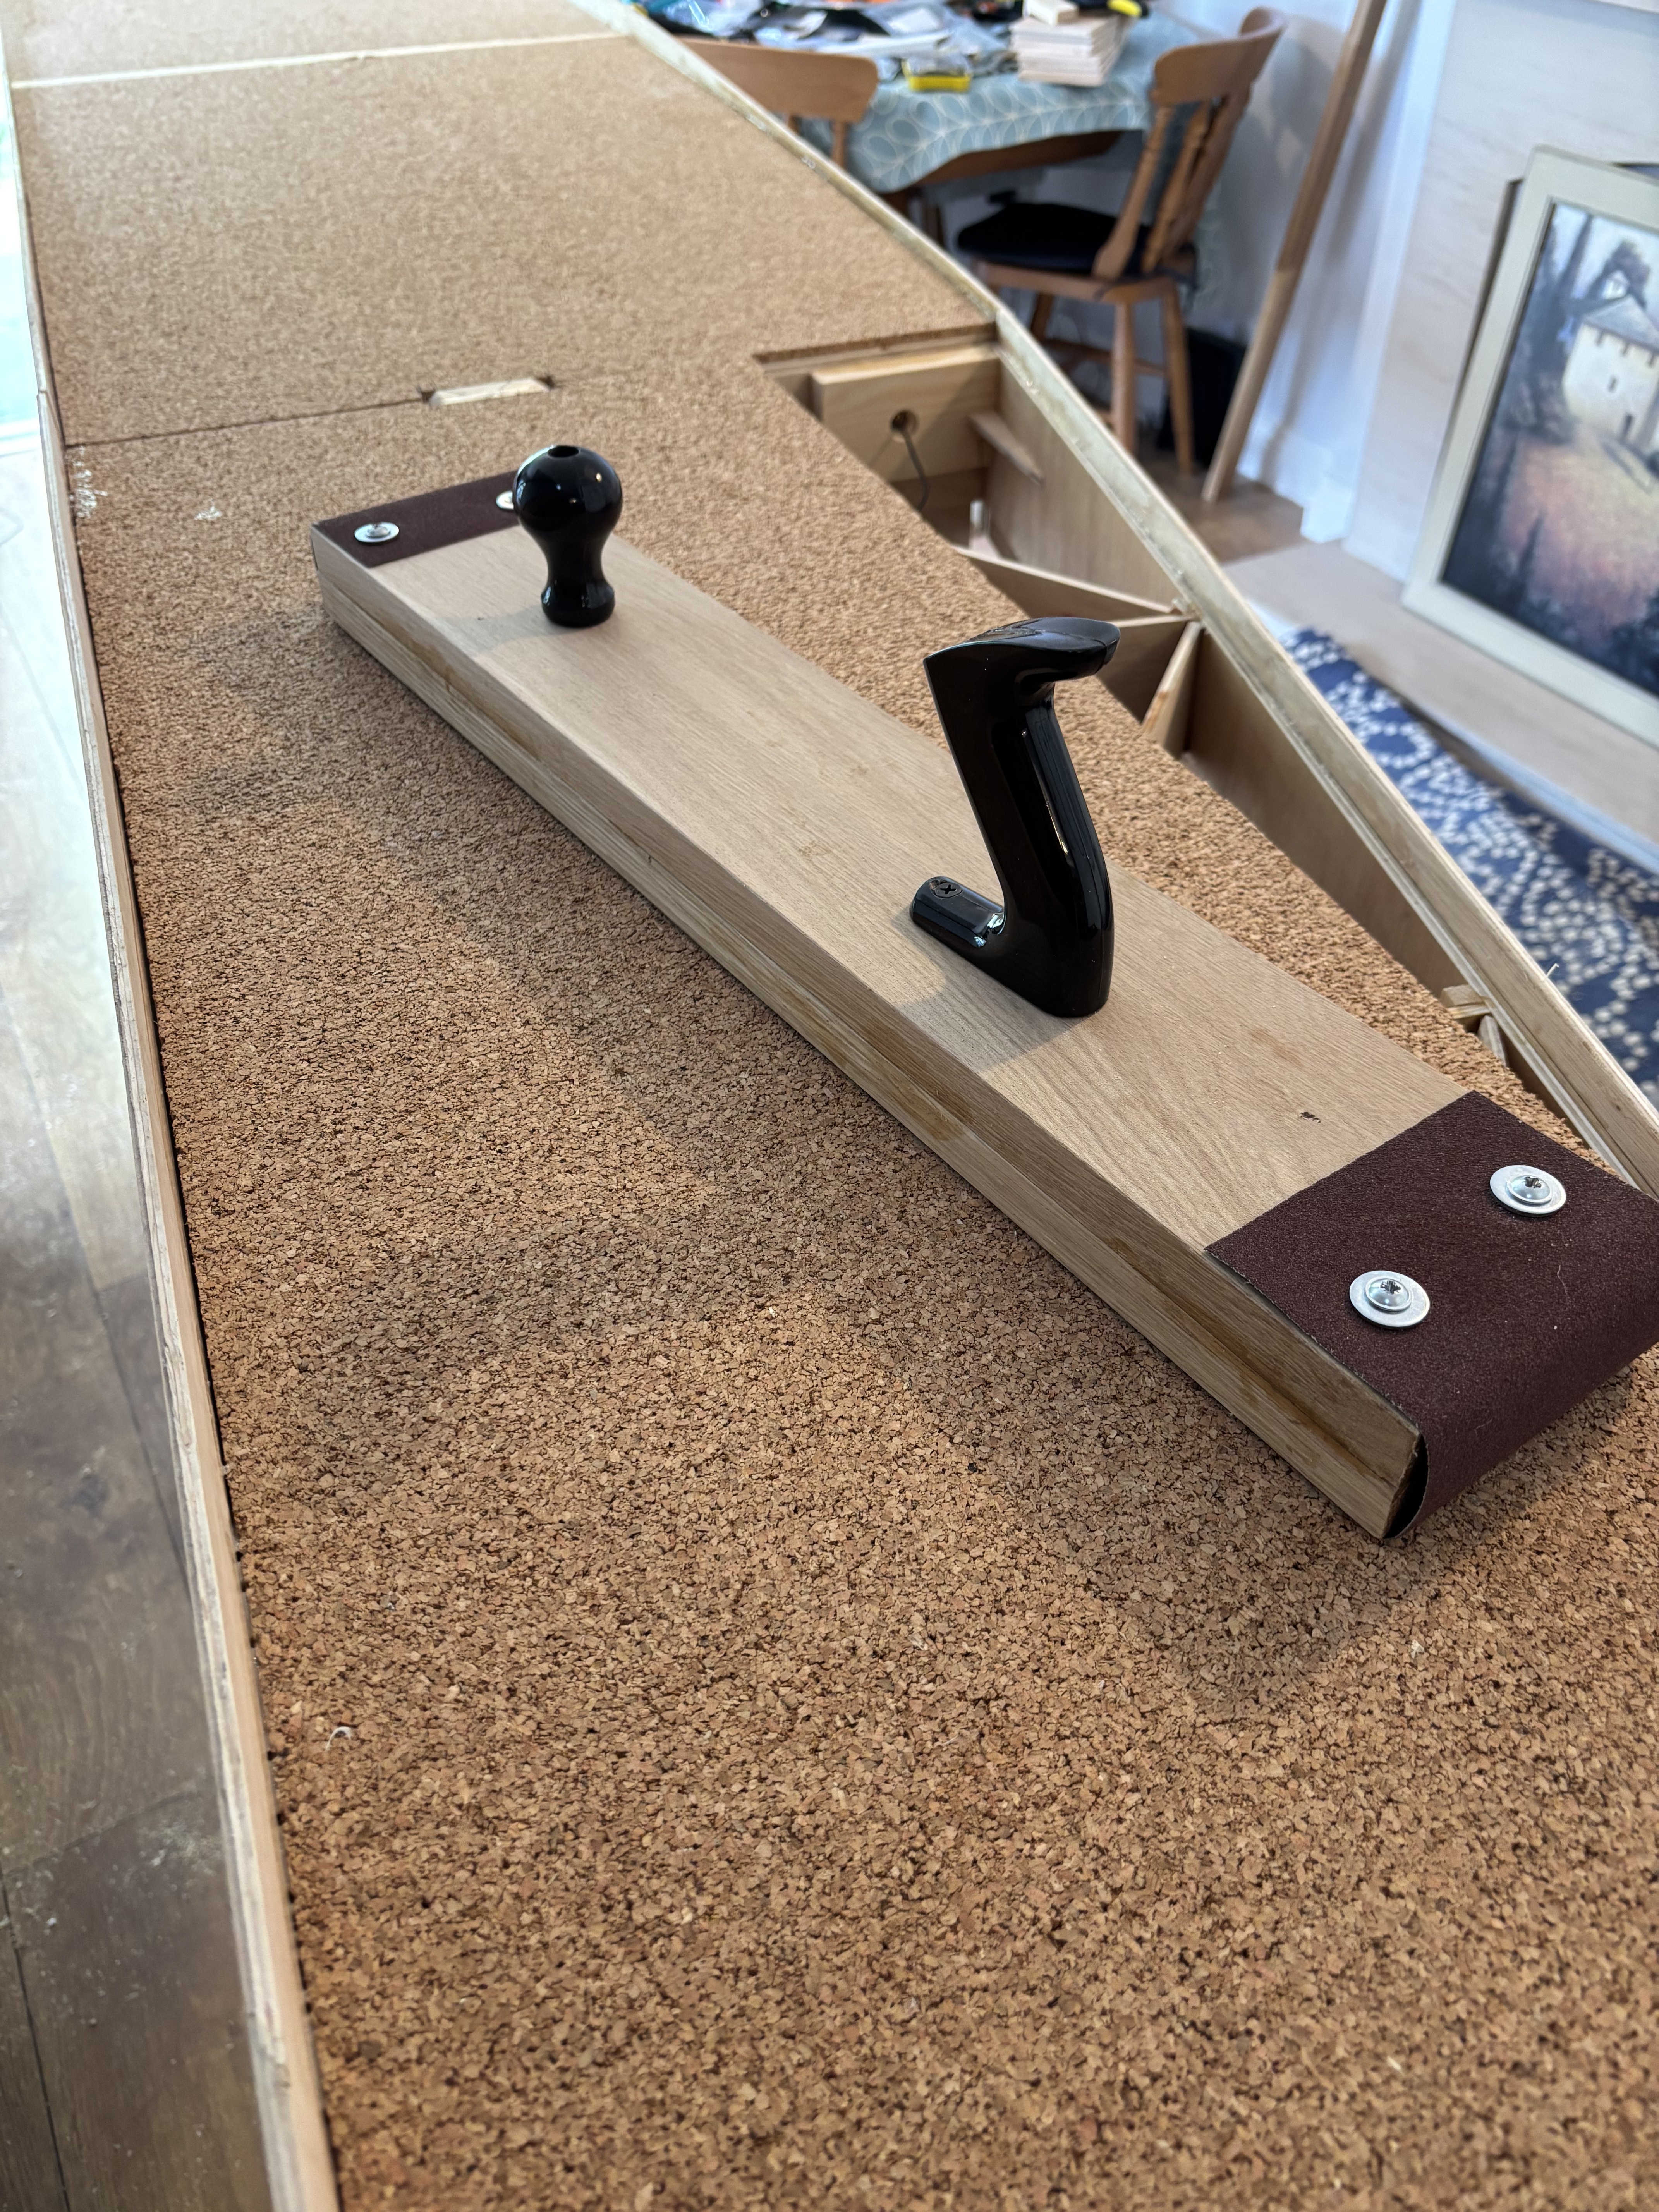
The reason for using thicker cork was manifold. I don’t think it has a massive impact on noise reduction, but it does raise the track up above the baseboard slightly, allowing for a ballast shoulder sloping down to the “cess” at the side. (In goods yards, etc, it is just left as it is, of course.) More importantly, it is thick enough and sturdy enough to be sanded to provide a truer surface for track laying, and later scenic work. This means it is time to introduce my own version of the “Edmund Fitsander”, as developed by my dear friend Trevor Marshall, over in that fine upstanding former Dominion, Canada. It’s just a pair of thick, short planks, with a handle and tote for a plane fitted, with lower edges bevelled and then the whole thing wrapped up in a sanding belt. Like a plane, it levels out over a longer distance than a small sanding block, but like the latter, it works over the whole lower surface of the block. The bevels just reduce any shock impacts when encountering high-points.
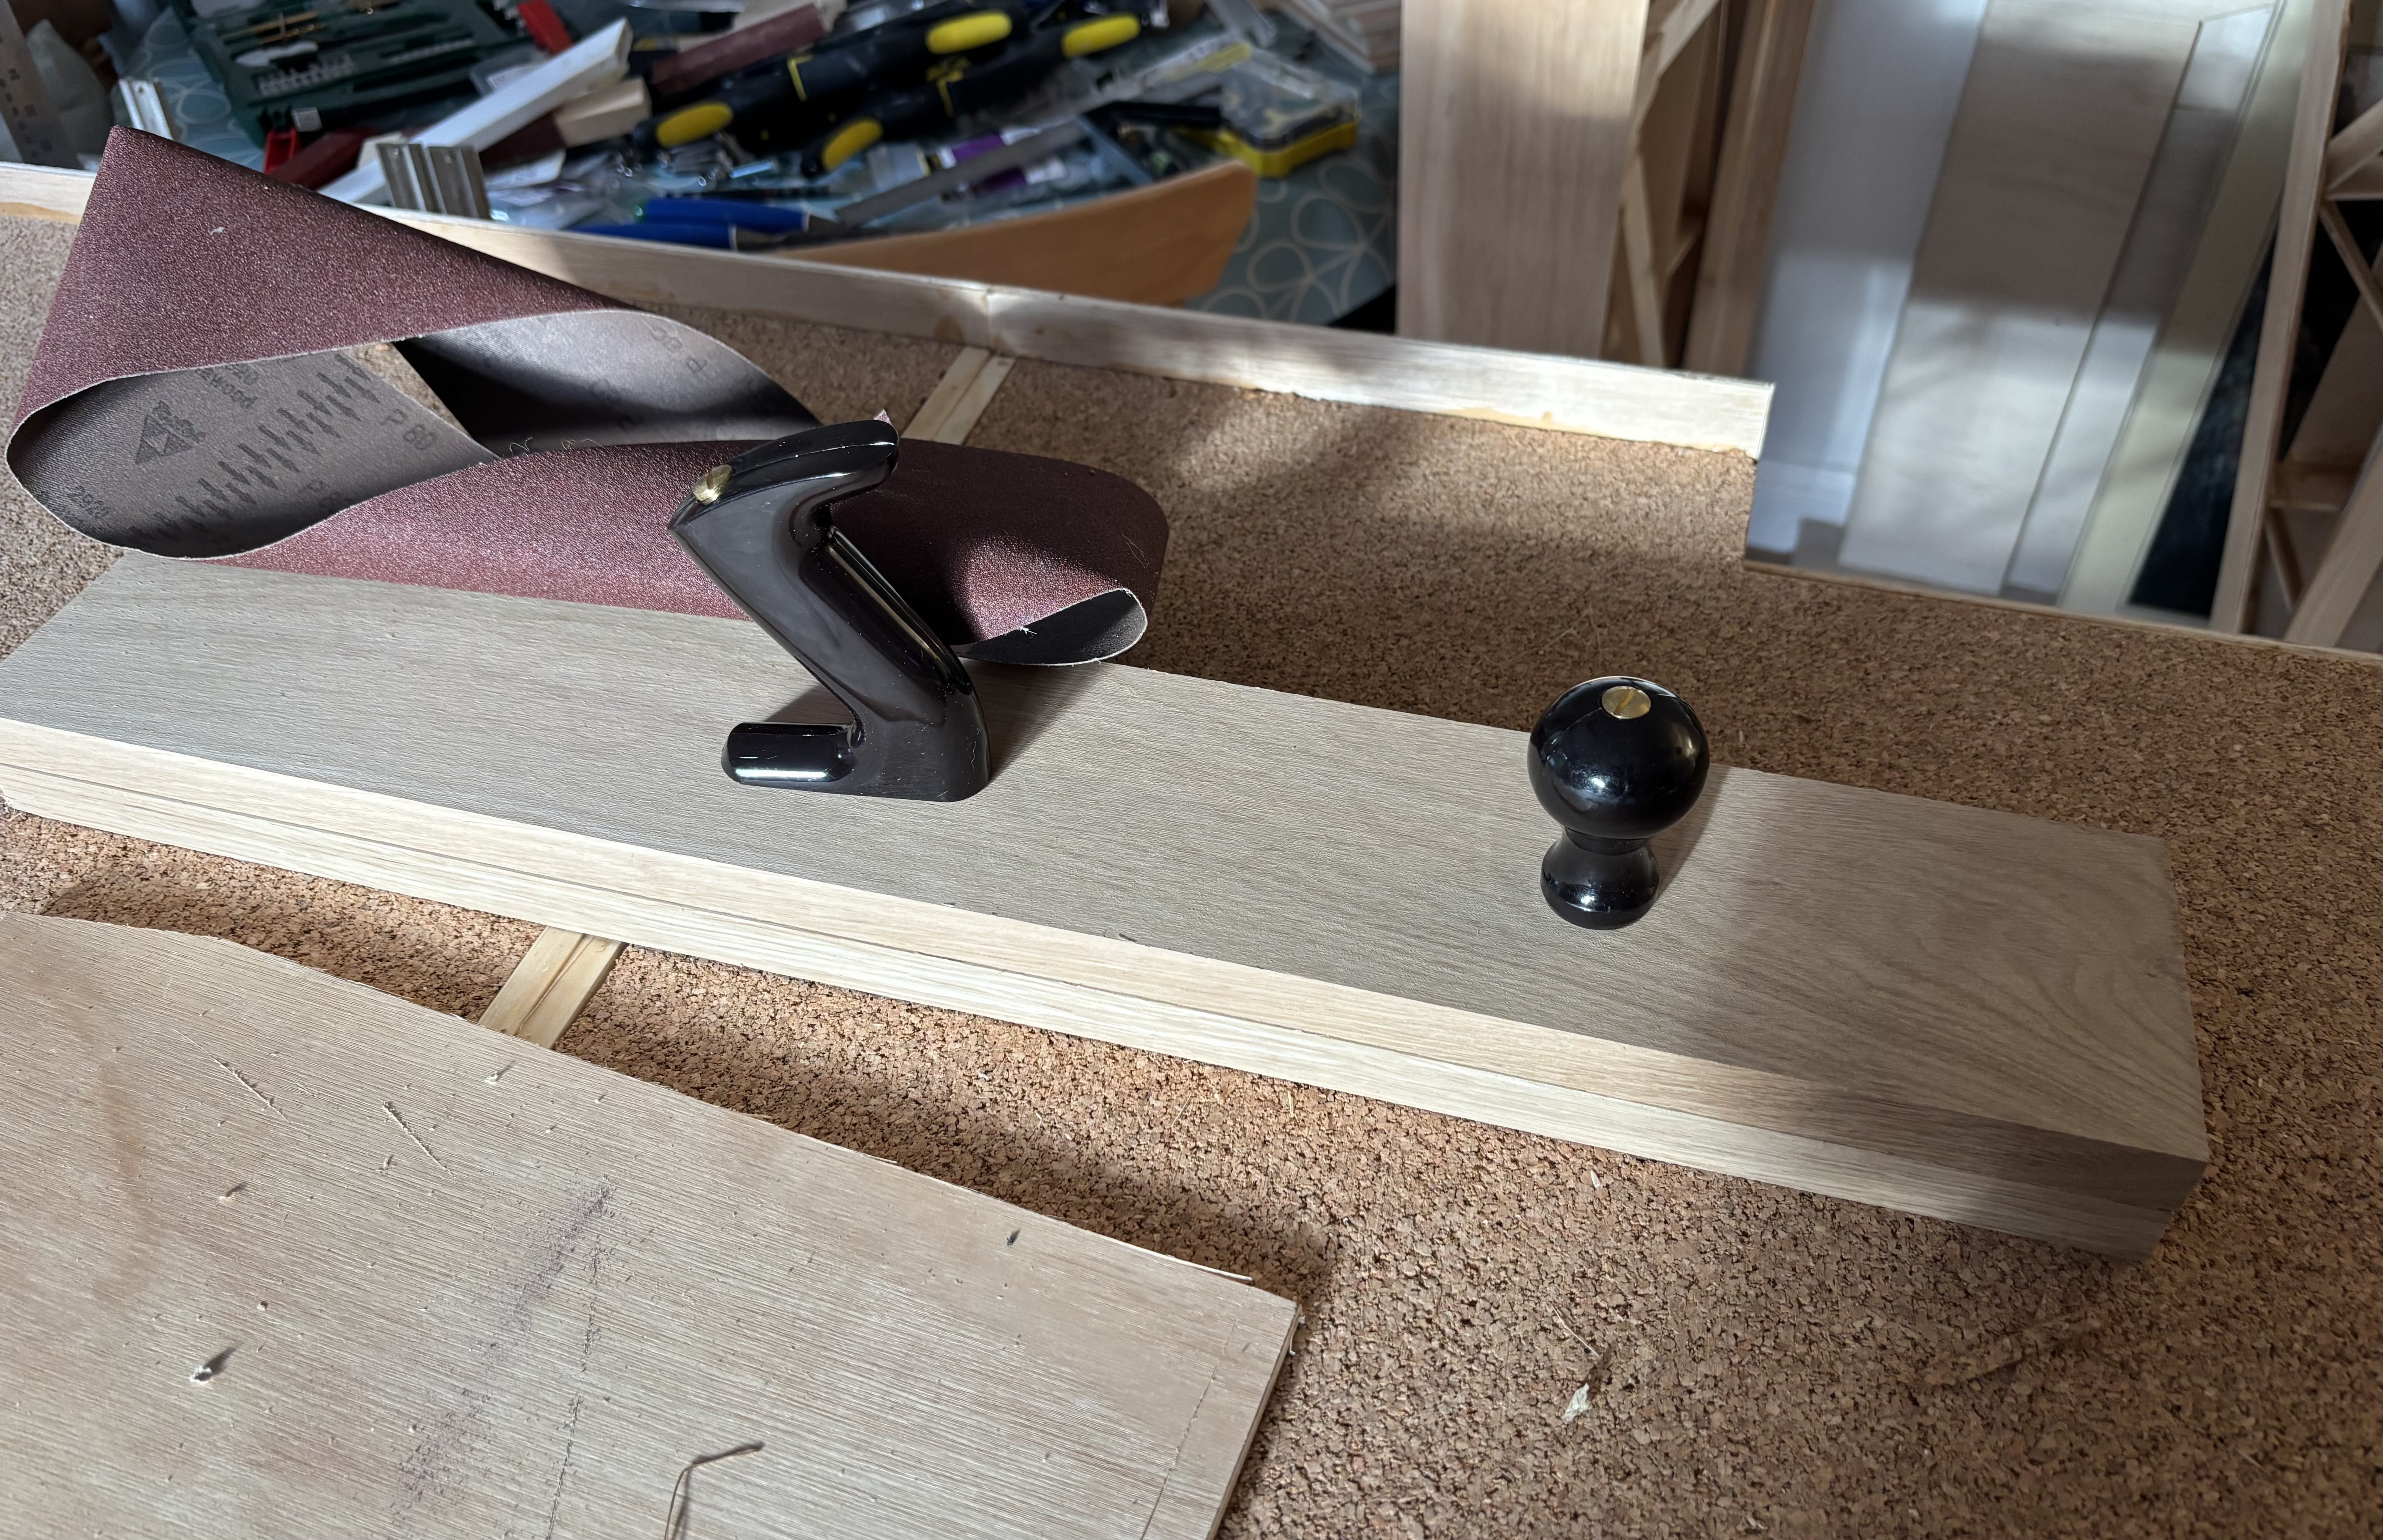
The essential components: the handle and tote have screws coming up from underneath, hence using two 1″ planks rather than a 2″ one. Four screws hold the sanding belt to the tool, and the two pieces of wood together: “repair washers” provide greater grip on the belt. The surface area is sufficient to cover quite a lot of the baseboard tops very quickly; with a bit of elbow grease applied – downwards as well as along – the whole sanding operation proceeded very smoothly and rapidly.
You may notice above that whenever there is but a single line crossing the baseboard joint, I used shorter pieces of 6mm square moulding – I knew I would be cutting the cork away here to represent the ballast shoulder, and these will help guide me when layout track and cutting and sanding back the cork.
At the end of the process, it all looks quite smart, but do remember to vacuum up the dust!
