

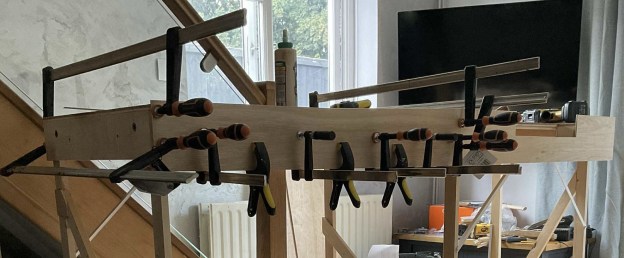
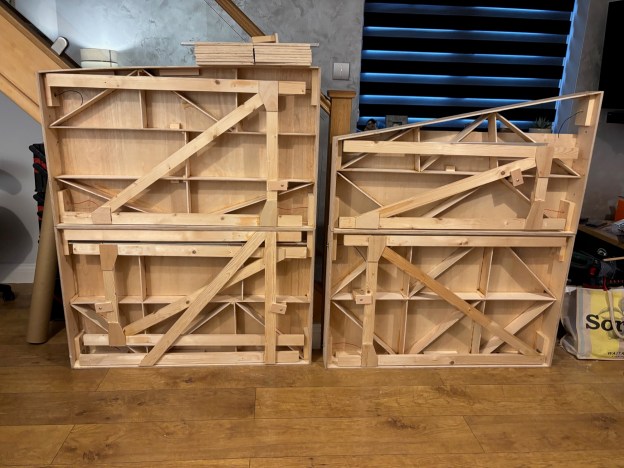
The previous update jumped slightly ahead of progress, as I added the fascias after I had added the cork roadbed – although the lighting poles were made earlier!
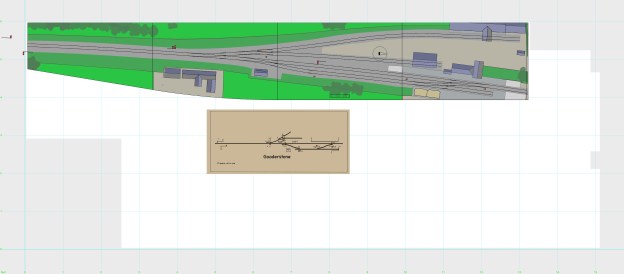
Anyway, the latest post details the steps I took to lay down ¼” (or 6mm) cork, with 6mm square (supposedly) timber at baseboard joints. It’s a fairly easy step, but requires a bit of planning and then allowing time for the glue to properly harden. It is also worth knocking up a simple tool for sanding over a larger area. This will also be used again when I come to lay the sleepers.
Addendum: apparently I have now made 100 posts, and reached out to 50 countries.

You must be logged in to post a comment.